

February 16, 2022, 3:46 pm | Read time: 2 minutes
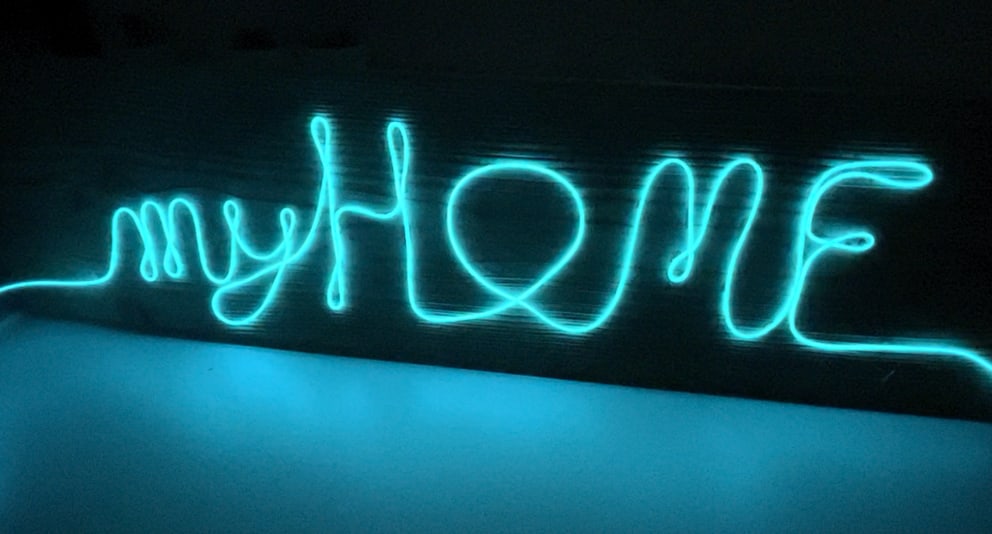
You see them in shops, cafes, or stylish apartments hanging on the walls: neon signs. Specifically, these are inscriptions in bright colors that glow even in the dark. If you want to fulfill this dream, you usually have to dig deep into your pockets–until now! Because you can easily make a neon sign yourself.
A glowing message directly above the couch in the living room, over the bed, or maybe in the kitchen? A neon sign fits anywhere–and you can easily make it yourself. The costs remain manageable, and you can decide individually on the color, size, and inscription. What you need and how to proceed can also be seen in the video above in the article.
Neon Sign: Make It Yourself–What Do You Need?
For your very own neon sign, you don’t need much. Most of it can be found online or at a hardware store.
Material
- Neon light tube with switch
- Wooden board (or anything that can serve as a base)
Tools
- Super glue
- Pencil
Tip: Neon light tubes come in different lengths. It’s best to lay out the planned inscription with a string first and then measure it. This way, you’ll know what length of tube is needed!
Also interesting: Make Playdough for Kids Easily
Neon Sign: Step-by-Step Guide
- If you’re not entirely sure and don’t want to leave anything to chance, you should lightly sketch the inscription with a pencil beforehand. This gives you a rough plan of how the light tube should be attached.
- Then detach the tube from the switch and start with this end. The advantage is that you can simply cut off any excess at the end.
- Next, start with the super glue. Apply it gradually to the appropriate spots–the pencil drawing helps as a guide.
- Press the light tube onto the super glue and wait until everything is secure. Patience is required here. Although it’s a fast-drying glue, it can sometimes take a while for the tube to hold its shape.
- Finally, cut off the remaining excess–done!