

April 24, 2023, 11:22 am | Read time: 5 minutes
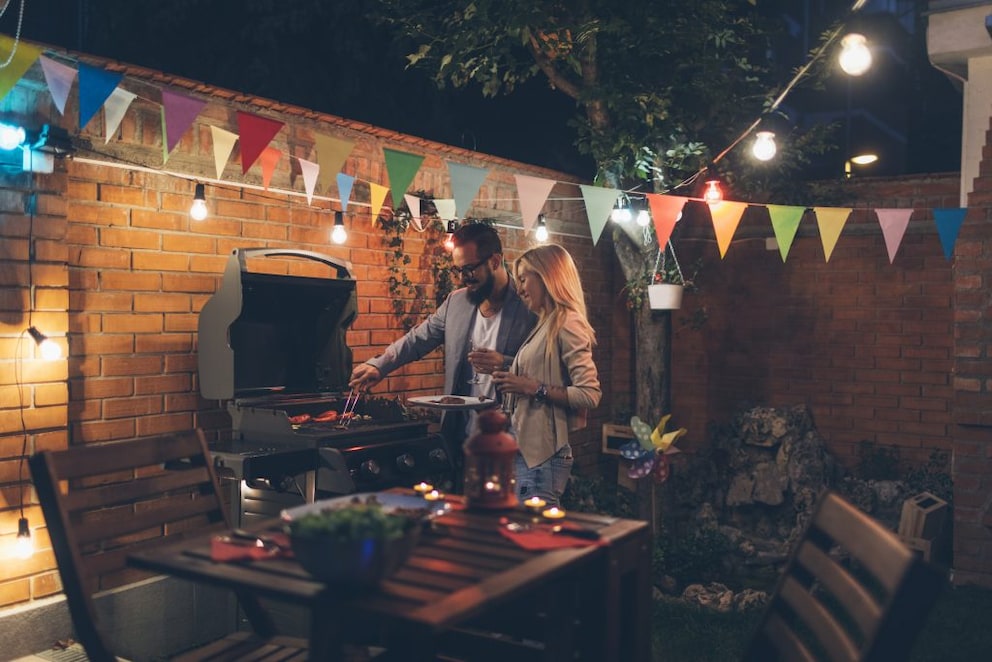
Whether it’s sausages, steak, or vegetable skewers–grilling is a popular pastime among Germans. It becomes truly social with a grilling corner in your own garden. Find out what you need for that here.
Grilling is a popular hobby–whether with charcoal, gas, or even electric grills. Many end the day with family at the grill, while others fire it up on weekends with a larger group. With your own grilling corner in the garden, the whole year becomes grilling season. If you cover the grill area and add a cozy fire pit, you can certainly use it on cold days too. More tips on designing a grill area can be found in this overview.
Overview
The Right Location for the Grill Area
If you want to create a grilling corner in the garden, the right location is crucial. Being close to the house has several advantages, such as quicker access to the refrigerator. However, keep in mind that the smells and smoke from grilling can also enter the indoor spaces.
Neighbors likely have no interest in a smoke-filled living room. In fact, the Immission Control Act even prohibits outdoor grilling if you cannot ensure that smoke does not enter the sleeping and living areas of adjacent residents. Therefore, plan the grilling corner with sufficient distance from the neighbor’s property.
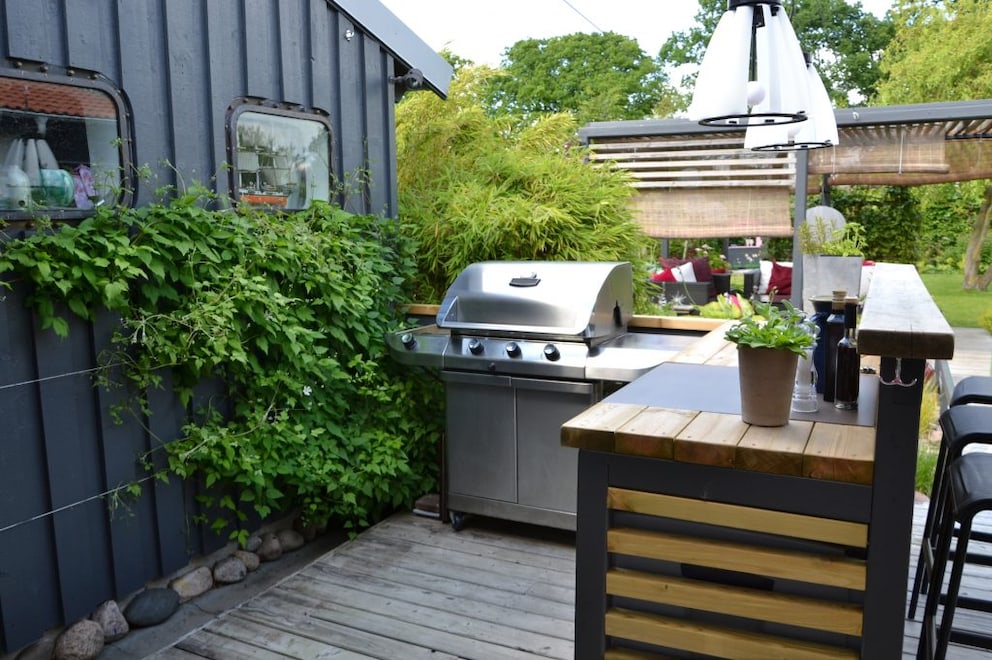
While ending a cozy summer evening under a large willow tree might seem picturesque, it’s not advisable to place the grill under a tree due to fire risk. It’s better to place a cozy seating area there. Other flammable objects, such as compost or a wooden shed, should also not be nearby. If you cover the grill area in the garden, it can be used even on rainy days. A pavilion or a pergola also provides protection from wind and sun. Here, too, it’s important to use non-flammable materials.
Related: Star chef Ali Güngörmüş shows how to grill salmon successfully
A level surface is ideal for a grill area. Recommended materials are non-flammable and easy to clean, such as paving stones or stone slabs. Large concrete slabs fit particularly well in modern gardens. As aesthetic as wood may look, it’s not recommended for designing a grill area.
Also interesting: Top chef Ralf Jakumeit reveals the absolute no-go when grilling
Design Tips for the Grill Area
If you have limited space to design the grill area, it’s advisable to work on different levels. An elevated seating area creates visual depth. A semicircular arrangement of seating options allows for more social interaction. In the center, you can set up a fire pit–the area should still be level and fire-resistant.

What to Keep in Mind When Grilling in the Summer

Build a Barbecue Yourself in Just 4 Steps
Build Your Own Garden Grill
The choice of grill for the grilling corner naturally depends on personal preference for charcoal or gas grills. Those who want to take their love of grilling to the next level can build their own garden grill. Important: Before starting construction, check if a building permit is required.
- Foundation: If the ground is already level, you can skip this step. If not, you can seal the area with waterproofing slurry to prevent moisture from seeping into the grill from below. It’s recommended to apply two layers.
- Planning: While the waterproofing slurry dries for two to three days, you can plan and sketch your garden grill to scale. If you don’t want to go through this effort, you can also buy a ready-made kit at a hardware store.
- Mortar: In addition to the stones, the mortar should also be heat-resistant. Fireclay mortar is fireproof up to 1100 degrees Celsius.
- Building: The first layer of mortar should be about five centimeters thick. Use a level to check if the stones are even. To ensure they are aligned vertically, use a straightedge. The joint between the stones should be about one centimeter thick. Before using the self-built grill, it’s advisable to let it dry for a week. Protect it from rain and sun with a tarp during this time.
Note: If this seems too complicated, you can also build a simpler grill version.
Grill Area in Condominium Complex–Legal Tips
If a grill area is to be created in the outdoor area of a homeowners’ association, the owners must decide together. Such a measure can be considered a modernization, which requires a double qualified majority, explains the consumer protection association Wohnen im Eigentum. Three-quarters of the voting owners, who hold more than half of the shares in the joint ownership, must agree.
To avoid disputes, residents should generally adhere to the usual quiet hours and be considerate of each other. Experts also advise setting clear rules for the use of the grill in writing. The community should establish reservation and time regulations as well as cleanup duties.
with material from dpa