


June 25, 2023, 3:35 am | Read time: 5 minutes
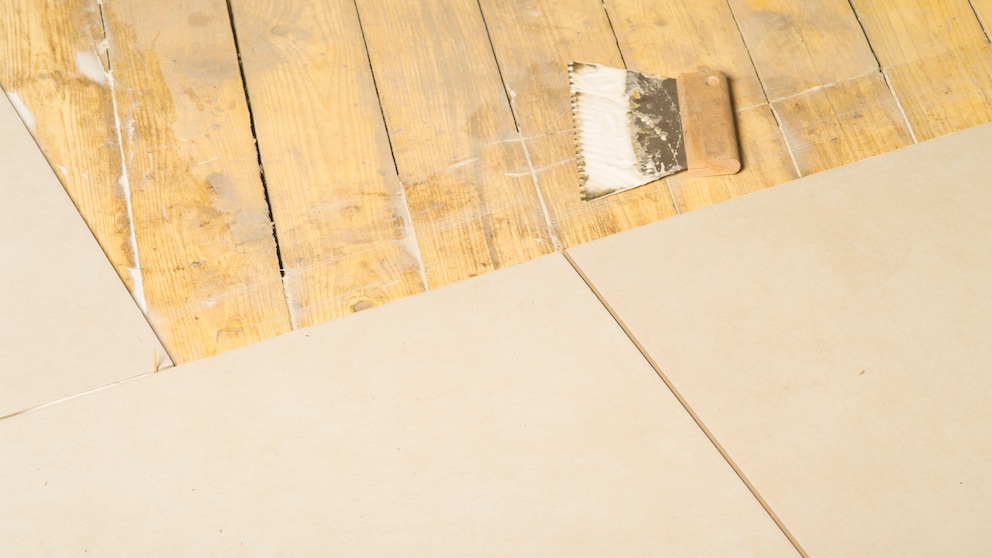
Switching from a wooden floor to a tiled floor is possible without having to tear out the wooden floor. To ensure that the glued tiles do not break under stress, there are several things to consider.
If you want to glue tiles onto a wooden floor, there are several things to keep in mind. Wooden floors are elastic and move with temperature fluctuations. A tiled floor, on the other hand, is solid and is laid differently than a wooden floor.
Overview
Gluing Tiles on Wooden Floors–What to Consider
Strength of the Wooden Floor
A wooden floor that has aged may already be rotted, warped, or damaged. Therefore, it is important to check whether the wooden floor is still suitable before gluing the tiles. A stable subfloor is crucial when gluing tiles.
Preparing the Subfloor
Thoroughly cleaning the wooden floor beforehand creates a better base for the subfloor. This allows you to remove loose parts, dirt, and other impurities.
Plywood as an Intermediate Layer
Sometimes it is advisable to screw or glue a layer of plywood onto the wooden floor for reinforcement. This creates a smooth and stable surface for the tile subfloor.
Decoupling Mat
Since wood is a natural material, it moves with temperature differences, which can lead to moisture fluctuations. When both materials (tile and wood) meet, tensions can arise and cracks can occur. A decoupling mat reduces these tensions and minimizes cracks after gluing the tiles onto the wooden floor.
Suitable Adhesive
It is important to use a high-quality adhesive that is also flexible when laying tiles on a wooden floor. When purchasing adhesive, ensure it is suitable for the material.
Tile Selection
Not every tile is suitable for a wooden floor subfloor. Therefore, regular ceramic tiles are less suitable. Porcelain stoneware is a good choice because it is robust, durable, and water-resistant. Heavy tiles should also be avoided as they would put too much strain on the wooden floor.
Expansion Joints
Expansion joints are significant when laying tiles on wood. Flexible joints allow movement without the tiles breaking. It is best to place the joints all around, as well as at the transitions.
Also interesting: How to Properly Use Leveling Compound for Even Floors
What is a decoupling mat, and what do you need it for?

Overview of Typical Types of Parquet
When is Gluing Tiles on Wood Sensible?
Extending the Floor’s Longevity
Tiles are durable and resistant to wear, scratches, and stains. Laying tiles on wood is particularly sensible for heavily used floors.
Tiles are Easier to Clean
Tiled floors are easy to clean, cool, and allergy-friendly. They are practical and low-maintenance, especially in households with pets.
New Look
If you want to change the appearance of the room, a modern tiled floor on wood is a good option. This modernizes the space and gives it a new look.
Wet Rooms
A wooden floor is less suitable for wet rooms like a bathroom or kitchen. A tiled floor is more forgiving. Gluing tiles onto a wooden floor creates a water-resistant surface that cannot be damaged by moisture.
Also interesting: Various Floor Coverings Compared
How to Lay Tiles on Wood
When gluing tiles onto a wooden floor, it is crucial to ensure an even and, above all, stable subfloor. The following steps can help when laying tiles on wood.
- First, check the subfloor. As mentioned earlier, the surface should be stable, dry, and free of damage when tiling on wood. You can replace or sand down damaged wooden planks. During installation, ensure the new planks are well secured. If there are no planks, chipboard can also be used to create a balance.
- Next, thoroughly clean the floor and remove dust, dirt, and impurities. Also, watch out for protruding nails or screws. Once the floor is well-prepared, you can proceed with the next steps.
- For a plank floor, a primer with deep primer can additionally protect the wood surface.
- Wood is sensitive to moisture, so applying a moisture barrier made of polyethylene is important. Films available in stores are ideal for this. This is essential when gluing tiles on wood.
- After priming, tack reinforcement mesh onto the wood surface. Then, it is important to spread a wood floor leveling compound with a steel trowel.
- Once the floor is dry, glue decoupling sheets with flexible adhesive onto the prepared wooden floor. It is best to use a roller to press out the respective sheets. This creates an even subfloor for the desired tile floor.
- In the next step, lay the tiles or porcelain stoneware. First, apply tile adhesive (flexible adhesive) to the subfloor. The flexible adhesive is important for subfloors that are still working. This refers to subfloors that yield or contract with temperature fluctuations.
- Now you can press the tiles onto the tile adhesive one by one. However, be sure to account for the spacing for the joints. Tile spacers are often used to create equal spacing.
- Once the adhesive has dried, you can begin grouting. Apply grout evenly to the porcelain stoneware. The best way to do this is with a rubber float, spreading the grout diagonally to the joint direction.
- After the grout has set, wash the surface with a sponge, rinsing and wringing it out repeatedly.
- The newly tiled floor can be used after the joints have dried appropriately.