


November 1, 2022, 2:06 pm | Read time: 3 minutes
You don’t just save on heating by lowering temperatures or buying a new heater. Insulating old and drafty roller shutter boxes also helps. And you can do it yourself.
There are many areas in the home where you can save energy. On one hand, it’s about using the thermostat wisely; on the other, with some insulation material and the necessary know-how, you can permanently reduce heating costs. Besides insulating heating pipes, roller shutter boxes are often where a lot of heat is lost. The best part: DIY enthusiasts can tackle this themselves and insulate the roller shutter box on their own.
Which Roller Shutter Boxes Should Be Insulated?
This mainly concerns older buildings where the roller shutter boxes are uninsulated. From an energy perspective, this is problematic; experts refer to these as thermal bridges. A lot of heat escapes here, leading to increased heating costs.
Insulating Roller Shutter Boxes–Which Material Is Suitable?
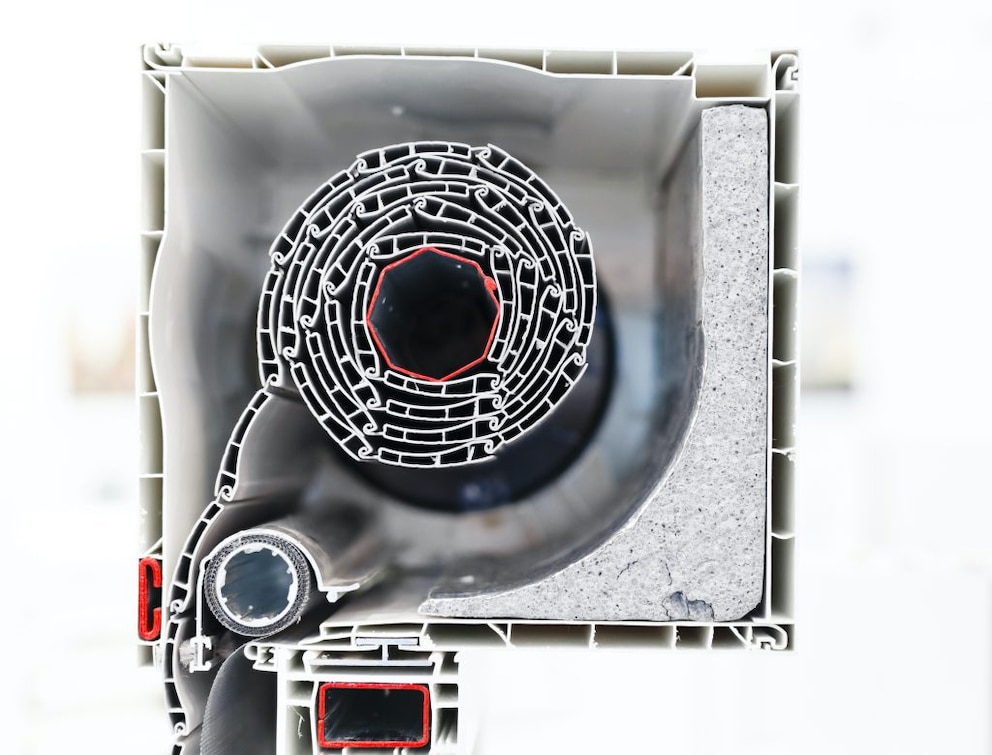
Flexible insulation boards are used, which are fitted into the box and secured there. Experts recommend high-performance insulation boards made of polyurethane or phenolic resin, as they have lower thermal conductivity. The boards are then sealed with PU foam. The material is available at hardware stores and costs, according to the consumer centers, 15 to 30 euros per square meter.
Tip: The belt passage and the roller shutter gap can be equipped with a brush seal. Costs here range from 10 to 15 euros per roller shutter box.

What to Consider When Replacing Windows
3 Practical Tricks to Stop Drafts in Your Home
Insulating Roller Shutter Boxes: Instructions
Here’s how to proceed step by step:
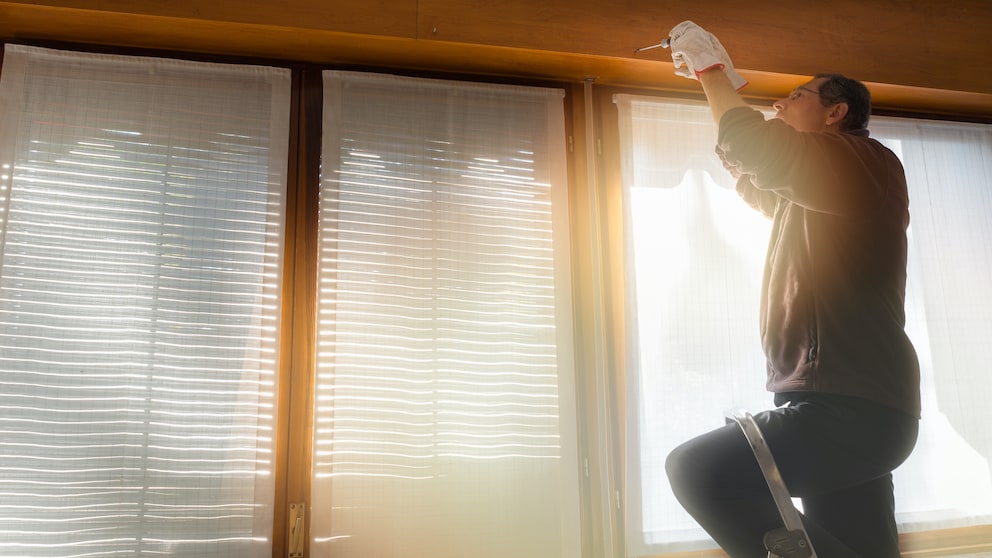
- Open the roller shutter box: First, locate the inspection opening. In some cases, the cover can be easily pried open with a screwdriver. Depending on the model, there are various options. Generally, you pry or unscrew the box open. For a flush-mounted box, you may first need to find the spot and cut the wallpaper with a utility knife.
- Fully unroll the roller shutter: Get an overview of the inside of the box. Here you can estimate how much insulation material can be used. If there are cracks in the material, they can be sealed with silicone.
- Measure the interior: Take measurements of the surfaces to be insulated. Don’t forget the side walls!
- Cut the insulation material: Transfer the measurements to the foam and cut it. Be precise to ensure there are no gaps left.
- Glue in the insulation: It’s best to use mounting adhesive here. If gaps remain, they can be filled with construction foam or silicone.
Related: Replace the roller shutter belt yourself–instructions in 4 steps
Should You Ask the Landlord First?
Even though insulating the roller shutter box is not a major intervention, it’s advisable to inform the landlord beforehand. Ideally, tenants can even get written confirmation to protect themselves. The landlord might even cover the cost of the material or installation, as the roller shutter box is part of the rental property.
with material from dpa