

November 7, 2022, 2:09 pm | Read time: 4 minutes
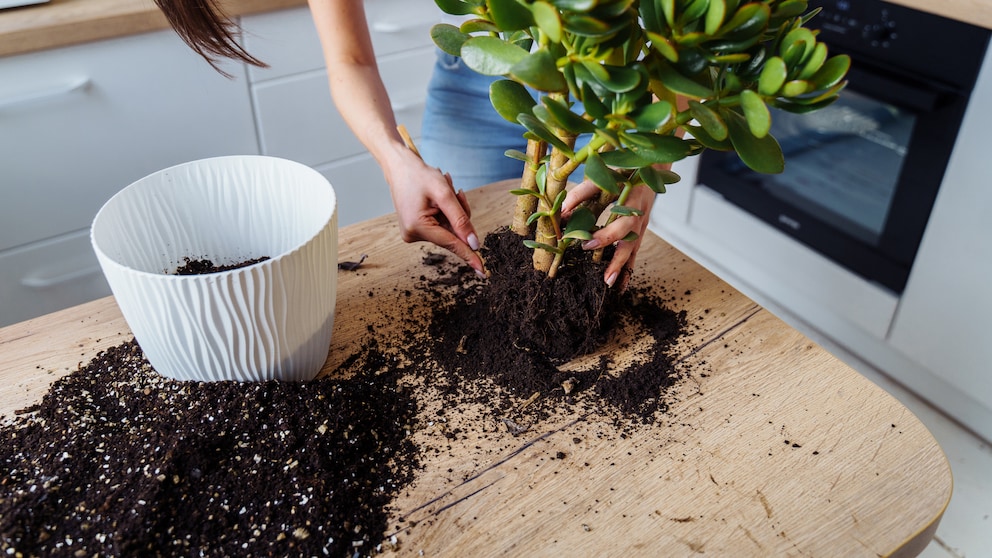
Potting soil isn’t expensive–but why spend money when you can get it cheaply or even for free? If you’re planning to repot flowers or plant seedlings and need seed-starting soil, make sure the soil you use is sterile. It should not contain fungi, mold, or insect contamination.
Purchased soil is often clean and pure, but unfortunately not always. Sometimes you might end up buying contaminated soil, which could lead to a fungus gnat or mold problem. You can counteract this. Either prepare your own soil or buy some. In both cases, it’s advisable to sterilize the soil before use. myHOMEBOOK explains how to do this and what to consider.
Overview
Sterilizing Soil in the Oven–Here’s How
If you want to sterilize garden soil, compost, or purchased soil yourself, you’ll need an oven in addition to the soil. Here’s how to proceed:
- Lightly moisten the soil first.
- Spread it flat on a baking sheet or in another heat-resistant container.
- Heat at 120 degrees Celsius (about 250 degrees Fahrenheit) with top/bottom heat for 30 minutes. Stir occasionally if it’s a thick layer of soil to ensure even heating.
- Let it cool well before use.
Note: If small white spots appear on the soil after sterilization, there’s no need to worry. These are insect larvae or worms that were killed by the heat. This is not harmful, as temperatures in a compost heap can also reach up to 80 degrees Celsius (about 176 degrees Fahrenheit), killing microorganisms.
Also interesting: Why You Shouldn’t Buy Peat-Based Potting Soil
Can You Sterilize Soil in the Microwave?
The principle also works in the microwave. Set it to the highest setting for ten minutes. Again, stir occasionally to ensure all layers heat evenly. Sandra von Rekowski from the Federal Association of German Gardeners recommends using the oven instead. In the microwave, too many nutrients might be lost compared to the oven.

Tricks to Make Peeling Chestnuts Easier
How to Easily Grow Your Own Alfalfa Sprouts
Sterilizing Soil in a Steamer
When steaming soil with a pressure cooker, as the name suggests, the soil is sterilized with hot steam. Here’s how to proceed:
- It’s best to steam the soil in shallow dishes, which should be covered with some aluminum foil.
- Next, place the dishes in the steamer insert.
- Then add water to the pot and place the steamer insert on top.
- Close the pot with the lid.
- Once the water boils, you can close the valve–this creates pressure.
- Steam the soil for 15 minutes.
- Only when everything has cooled can you open the pot and use the clean soil.
Note: If you want to use the soil as seed-starting soil, you should mix it with sand in a 1:1 ratio to make it more permeable.
Do You Always Need to Pre-Treat Soil?
It doesn’t hurt to sterilize the soil, but it’s not always necessary. To find out if the soil contains harmful spores or germs, you can perform the cress test.
- Fill a pot with some of the soil that will later serve as seed-starting soil.
- Lightly moisten the soil.
- Then sow cress.
- Place the pot in a bright and warm location and wait.
If the cress germinates within about three days, roots well, and looks healthy, the soil does not need to be sterilized for use as seed-starting soil. The germ load is low and does not harm young plants. However, if the cress does not germinate, it’s a clear sign that the soil contains too many germs, fungi, or spores.