


December 26, 2022, 5:03 am | Read time: 2 minutes
Pricking out is a technique that hobby gardeners should know. Here you will learn what it involves and how to do it correctly.
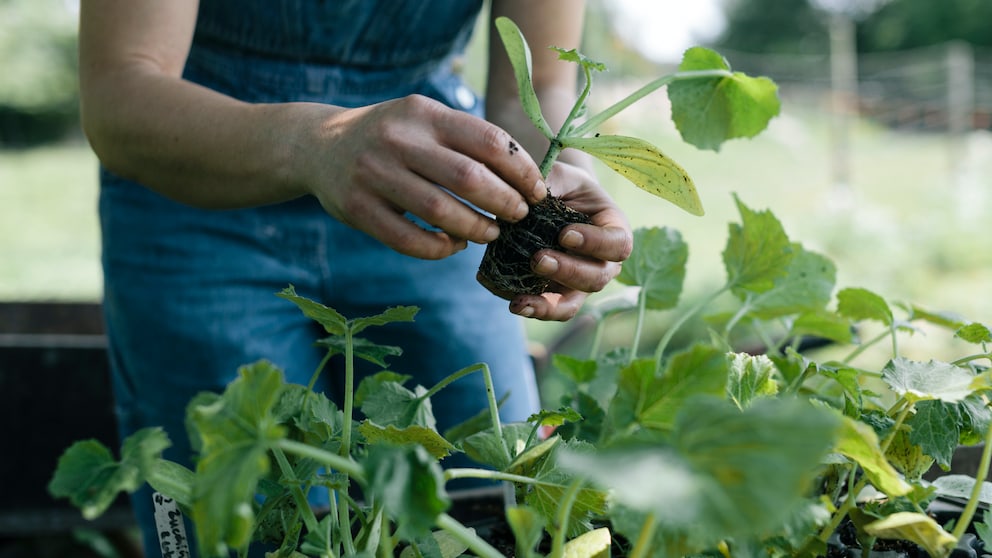
Pricking out is used in gardening during the cultivation of plants. Freshly sprouted seedlings are removed from the soil and placed individually or in smaller numbers into larger plant containers. This ensures that the young plants have enough space to develop strong roots and shoots and grow into healthy plants.
For these plants, pricking out is necessary
Those who sow fruit and vegetable plants at home for later planting in the vegetable bed usually need to prick out the young plants after the germination phase. Otherwise, the delicate plants would compete with each other for water, nutrients, space, and light, developing weaker than plants with enough space. For seeds sown directly into the ground with sufficient spacing, such as corn in late spring or all types of beans, pricking out is generally not necessary.
Related: Pricking out tomatoes without damaging the roots
Guide to Pricking Out: Here’s How
- For proper pricking out, a pricking fork or pricking stick is needed. If you don’t have one, you can use the back of a teaspoon or a wooden stick.
- As preparation, enough pots with seedling soil should be prepared, into which the pricked-out plants can be placed. Seedling soil is low in nutrients and prevents the plant from growing too quickly and unhealthily. If all the pots are already prepared, the pricked-out young plants don’t have to lie open for too long.
- For pricking out, use the wooden stick, pricking fork, or other tool to dig deep into the soil next to the plants to be pricked out and carefully lift the plants with their roots.
- On the work surface, gently separate the connected plants.
- Now, with the pricking tool of your choice, drill a deep hole in the new pot and insert the young plant. The root must point straight down. Otherwise, the plant will grow crooked or expend a lot of energy correcting the root position.
- Fill the hole with more seedling soil and press gently.
- Lightly water the transplanted specimens.