


October 28, 2022, 3:23 pm | Read time: 5 minutes
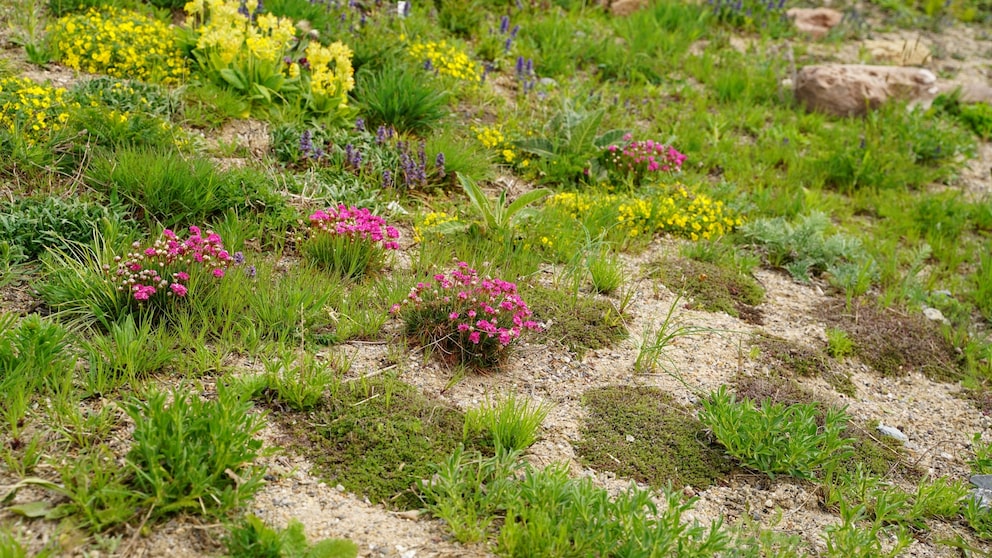
Creating a perennial bed in the middle of a sandy area might sound odd at first. Typically, humus-rich, dark garden soil is considered ideal for lush growth. Why it’s still a good idea to set up a sand bed and how to do it, you’ll find out here.
In a sand bed, most of the work is done by the plants, not the gardener. Setting up a sand bed is quite straightforward. Since the perennials are planted in sand rather than regular garden soil, they must develop an extensive and strong root system to access water and nutrients in the underlying garden soil.
Overview
Advantages of a Sand Bed
The advantages of a sand bed are numerous and mostly relate to the word “less.” Both the setup and maintenance of the bed require relatively little effort. Labor-intensive tasks like digging, constant weeding, and lugging watering cans are not an issue with a sand bed. Fertilizer is also rarely needed.
Function and Type of Sand
Bavarian perennial gardener Till Hofmann established his first sand bed 15 years ago and found that sand–at least for sunny perennial beds–is an excellent alternative to a conventional mulch layer. “The climate crisis increasingly shows how necessary it is to protect the soil from heat and drought. Sand, any kind, is a good option for this,” he says.
For aesthetic reasons, he prefers round-grained, coarse screed sand with a grain size between 8 and 16 millimeters. However, he also considers fine river sand, angular crushed sand, or classic sandbox sand to be useful. Till Hofmann: “If you dig in a sandbox, you’ll quickly find damp sand.”
A Physics Excursion: The voids between individual sand grains interrupt the soil’s capillarity. Simply put: The air between the sand grains prevents moisture from rising from the soil and being lost. The larger the sand grains and thus the voids, the greater the insulation effect.
Also interesting: Creating a Vegetable Bed – Tips on Planning, Location, and Soil
Converting Lawns into a Sand Bed
To transform a lawn into a conventional bed, you first need to wield a spade. The turf is removed, the soil is loosened, and the entire area is leveled and smoothed.
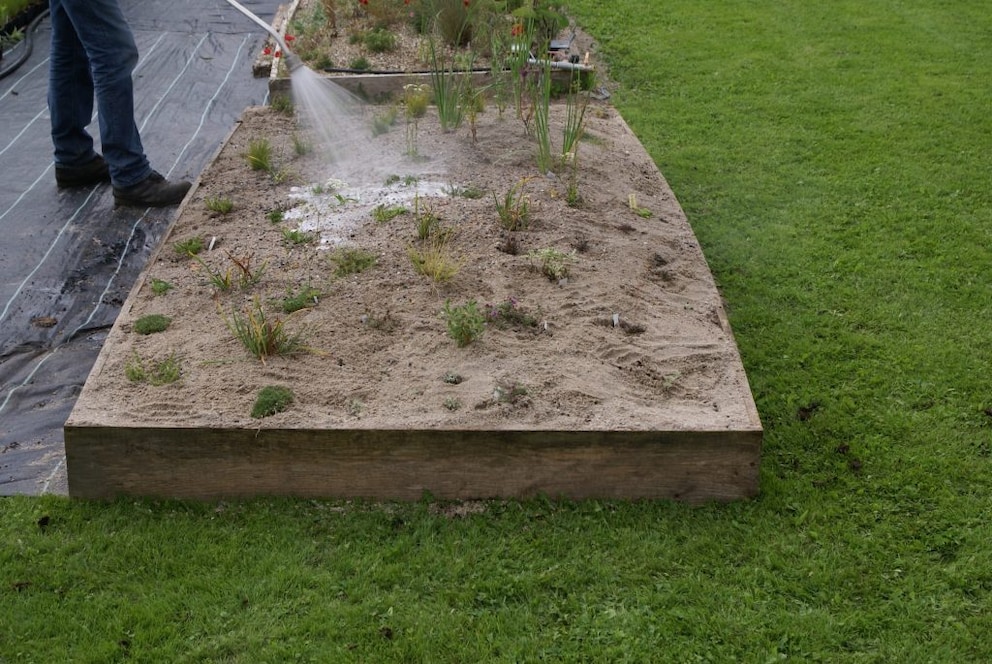
Setting up a sand bed is much simpler because the lawn doesn’t need to be removed; it is merely covered with sand. Only particularly stubborn weeds like couch grass or dock should be removed. Then, the selected area is framed, for example, with boards or bricks. This frame should be about 20 centimeters high. Next, sand is poured directly onto the lawn within the framed area and raked smooth. Conveniently, as the lawn under the sand decomposes over time, it releases nutrients that become available to the perennials.
Upcycling Project: Transforming an Old Sandbox into a Sand Bed
If you have an old sandbox in your garden, you can rejoice twice. First, because the sandbox doesn’t need to be dismantled and disposed of, and second, because it already provides the border for the future sand bed and sand is already filled in. The sand layer in a sand bed–whether built in a sandbox or on a lawn–should be 15 to a maximum of 20 centimeters thick. Accordingly, sand must either be added or removed. If a fabric is laid at the bottom of the sandbox, it should be removed so that the roots of the perennials can find their way down unhindered.

Best Tips for Fighting Weeds in Your Lawn
When It’s Worth Sanding Your Lawn
Suitable Plants for a Sand Bed
Almost all perennials that thrive in sunny beds are suitable for planting. Recommended are, among others, knapweed, cotton thistle, yarrow, evening primrose, self-heal, anise hyssop, catnip, yellow coneflower, blue oat grass, garden sage. But even perennials that require more nutrients, such as delphinium, phlox, or chrysanthemums, can thrive in sand beds. “Very shallow-rooted plants like daylilies or autumn moor grass struggle initially more than typical deep-rooted plants, but they soon catch up. After about a year, there’s no difference,” explains the expert.
Optimal Care for a Sand Bed
In the first few weeks, regular watering is necessary. After that, watering is either not needed at all or only in exceptional cases. Weeds are minimal because many of our typical garden weeds prefer normal garden soil over a thick layer of sand. If an unwanted weed does appear, it can be easily removed from the loose soil.
Fertilizing is only necessary in a few cases: “Most garden soils are rather too rich. Wild perennials, weak and moderately nutrient-demanding plants generally do not need fertilizer. It’s enough to lightly fertilize them if it seems necessary. An exception is showy perennials like delphinium, autumn asters, and chrysanthemums. They can benefit from a bit of starter fertilizer,” says Till Hofmann.
An important task is the regular removal of dead plant material. All plant parts left on the beds eventually turn into humus, reducing the benefits of the sand mulch.